
How To Lace Air Jordan 1 High’s
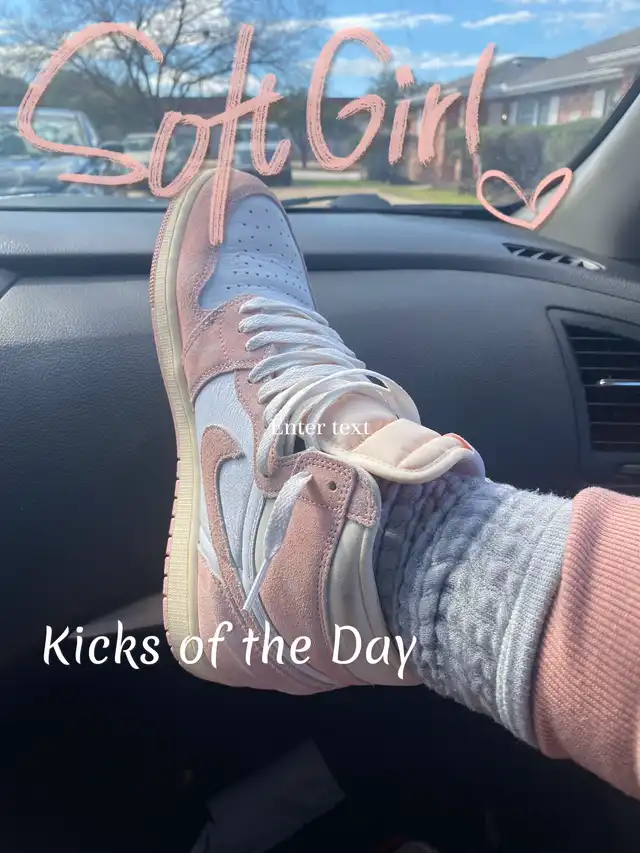
Here’s a quick and easy tutorial on how to properly lace up your Air Jordan 1 High sneakers! 👍🏼
Now when it comes to tying the laces at the top, that’s completely up to you! If you’d prefer to tie them, then just don’t put them through the top eyelets.
Just remember not to lace the shoe too tight or the material on the shoes can stretch out overtime leading to a deformed looking shoe.
Hope this helps! 🫡
#sneaker #sneakers #sneakerhead #sneakercollection #styletips #fashion #mensfashion #jordan1high
Hey sneaker fam! So, you’ve got your fresh pair of Air Jordan 1 Highs and you're probably wondering, 'What's the best way to lace Jordan 1 Highs for that perfect look?' Trust me, I’ve been there! When I first got my AJ1s, I spent ages trying to figure out the coolest and most comfortable way to *lace Jordan 1*. After a lot of trial and error, I've found a few go-to methods that not only look great but also protect your sneakers from getting stretched out. Let me share my personal tips on *how to lace Jordan 1 High step by step*. First off, let's talk about the classic, slightly relaxed look. This is probably one of the most popular ways to *how to lace Jordan 1 High*. You want to start by threading the laces through the very first eyelets (closest to the toe box) from the outside-in to create a clean, straight bar across the front. Then, continue lacing criss-cross style, going under each eyelet. This creates a neat V-shape on the inside of the shoe and a clean look on the outside. Now, for the key decision: to tie or not to tie? Many of us, myself included, prefer the untied, loose lace look with our Jordan 1 Highs. To achieve this, I usually stop lacing at the second-to-last eyelet. This leaves enough lace length to drape casually without tripping over them. It gives off that effortless, cool vibe, and honestly, it’s super comfortable for how to wear Jordan 1s casually. Just make sure the laces aren't so long they drag on the ground! If you prefer a more secure, *tied look*, simply continue lacing through all the eyelets. When you reach the top, you can either tie a classic bow or try a 'factory knot' for a super neat finish. Just remember the golden rule: don't lace them too tight! As the original post mentioned, this can deform the material over time. You want them snug, but not constricting. Ever wondered about *different ways to lace Jordan 1*? Another popular option is the straight bar lacing method. This one takes a bit more patience but looks incredibly clean and minimalist. For this style, you’ll thread both ends of the lace through the bottom eyelets from the outside-in. Then, take one lace end and thread it under the tongue, skipping one eyelet and coming out the next eyelet on the *same side*. The other lace end does the same on its side. Continue this pattern, always threading under the tongue and bringing the lace out through the eyelet directly above the previous one on the same side, then crossing over to the opposite side under the tongue. It creates horizontal bars across the top of the shoe. It’s a bit tricky at first, but the result is stunning. And what about *how to lace Jordan 1 High with 2 laces*? This is a fun way to add a pop of color or customize your look! You can either use two different colored laces, or use one main lace and a shorter, thinner accent lace. For two colored laces, simply lace half the shoe with one color and the other half with the second color, or alternate every eyelet. For an accent lace, you might do your primary lacing, then re-thread a thinner, accent lace through just the top few eyelets or weave it through the existing laces for a subtle pop. This really makes your Jordan 1 High lace stand out! Finally, always consider the occasion and your personal style. Whether you’re going for a clean, tied look or a relaxed, untied vibe, the way you lace your AJ1s can totally change their on feet appearance. Don't be afraid to experiment! After all, your sneakers are an extension of your personality. Keep those laces fresh, and your Jordans will always look top-notch!




See more comments